


In recent years, home burglary cases have decreased due to the installment of high-tech security systems. However, these cases continue to happen, especially in rural and suburban areas. Burglars and intruders are also getting smarter with technology, so it’s best to stay vigilant and prepared.

Burglars always head for the master bedroom first to gather cash, jewelry, documents, and weapons. These items are easier to hide in their clothes rather than a big TV. Hide these items in a secret compartment to ensure their safety. There are available ones on the market, but when those don’t work for you, you can always make your own.
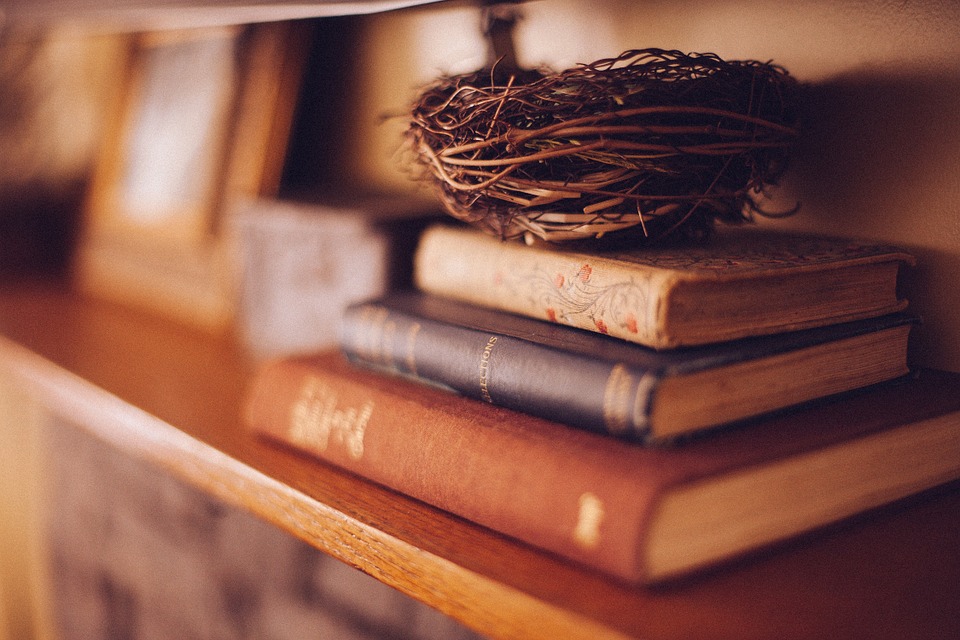
Fortunately, you can find many guidelines on the internet. Here is one example of making your own shelf concealment system. (Related: Looking to improve your home security? Here are 25 things you can do right now.)
Materials
- 4 ft. long, 1 x 12 in. common board
- 4 ft. long, ¼ x 1 in. hardwood emboss rope
- 4 ft. of 4 ½ in. hardwood emboss crown molding
- Mortised full overlay cup hinges for frameless cabinets
- Magnetic locks (often sold as child safety locks)
- Neodymium magnets (used as keys for the locks)
- Paint for wood
Crown molding refers to the decorative pieces of wood placed at the edges of the ceiling.
Tools
- 12 in. chop saw
- 1 3/8 Forstner bit
- Brad nailer
- 1 ¼ in. brad nails
- Wood glue
- Two 7 ½ in. long jack chains
- 6 sheet metal screws
- 6 flat washers
If you don’t have these machines, you can use hand tools.
Preparing the materials
- Cut the common board into the following sizes:
- 24 x 11 ¼ in. rectangle
- 18 ¼ x 8 3/8 in. rectangle
- 18 ½ x 2 ½ in. piece
- Two 6 x 2 in. pieces (trim a 1 in. 45-degree cut in one side of both pieces)
- Cut the crown molding into the following lengths:
- One 18 ¼ in. pieces
- Two 8 3/8 in. pieces
- Cut the hardwood emboss rope in following lengths:
- Two 24 in. pieces
- Two 11 ¼ in. pieces
- Trim the sides of the crown molding at a 45-degree angle to make a frame. Degree angles may vary for the kind of crown molding that you’re using. Make sure that the pieces line up with each other perfectly.
- The hardwood emboss rope will be used as decoration for the sides of the common board. Align these against the bigger common board and mark where it will be cut. Add some allowance at the edges because this is part of the outer frame.
Assembly
The shelf is divided into three parts:
(1) The support bar
- Glue the 6 x 2 in. pieces to the 18 by 2½ in. board. Use side without the trimmed edge to attach the smaller pieces to opposite corners of the bigger board.
- The 1 in. trim should be pointing down to a small gap between the smaller and bigger pieces.
- Use the brad nailer to punch in nails at the back, where the smaller piece is connected to the bigger board. To make it more secure, add wood screws using a handy screwdriver.
(2) The bottom half of the shelf
- Glue the crown molding pieces to the edges of the 18 x 8 3/8 in. piece. Use glue to attach the molding pieces together as well.
- Fasten everything with nails afterward, with a 2 in. gap between each nail.
(3) The top half of the shelf
- Glue the hardwood emboss ropes to the sides of the 24 x 11¼ in. common board. One inch of the former should be hanging off the side. This is the trim.
- Make sure that the trim covers the gaps between the bottom and top half of the shelf.
Putting it all together
- Adjust the hinges to its max by rotating the screws. Follow the instructions on how to set them up. Use the Forstner bit to attach the hinges at the back of the bottom half of the shelf that has no crown molding.
- Attach the other end of the hinges inside the support bar, facing the 1 in. trim of the smaller wooden pieces.
- Align all the pieces together, then glue the top part of the shelf to the support bar. Fasten it with nails.
- Prop it up on a table and check how it opens and closes. The back edge of the bottom part should not hit the table. This ensures that it won’t leave any dent or hole on the wall once it’s installed.
- Install magnetic locks inside the shelf. You can disguise the magnets as small pieces of decoration or trinkets.
- After setting these up, attach the jack chains on the 1 in. trimmed pieces on the support bar. Screw the other end at the bottom corners of the base. Use the metal screws and washers to secure the jack chain into place.
- Check the mechanism of your shelf before installing it on the wall.
Once it’s set up, you now have your own DIY concealment system. You can place important items like passports, weapons, jewelry, and cash for safekeeping.
Sources include:


Please contact us for more information.