


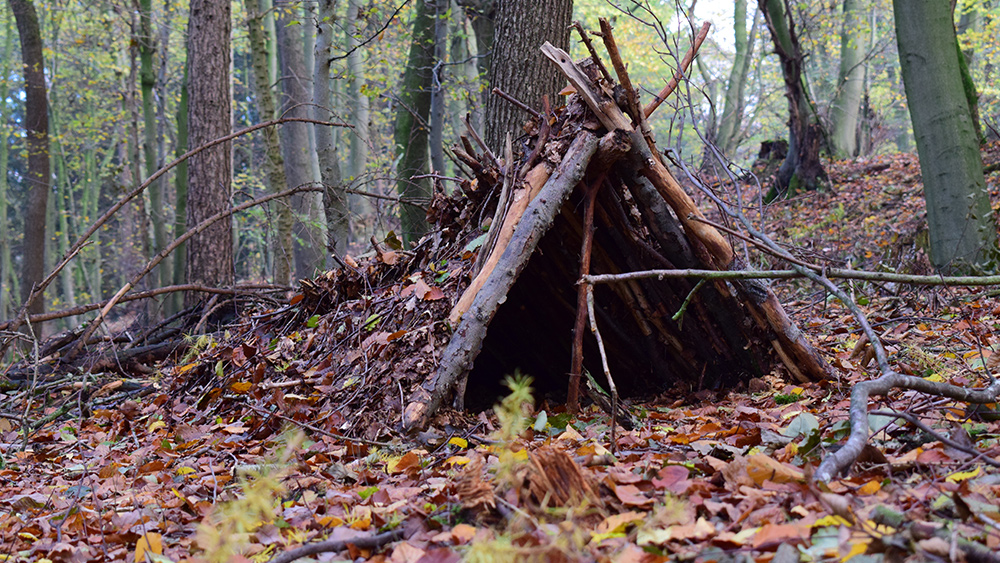
When it comes to surviving in the wild, all the knowledge you have on hand comes into play. You will need to set up camp every time, which means setting up structures such as a lean-to, a firepit, and a multi-purpose tripod. While it may seem pretty easy, making a tripod may be a little tedious at first. With much practice and the right knowledge on making use of cordage, you will be able to set up a tripod that can be used for a small tent, a trap, or a means to hang a pot for cooking. (h/t to HedgehogLeatherworks.com)

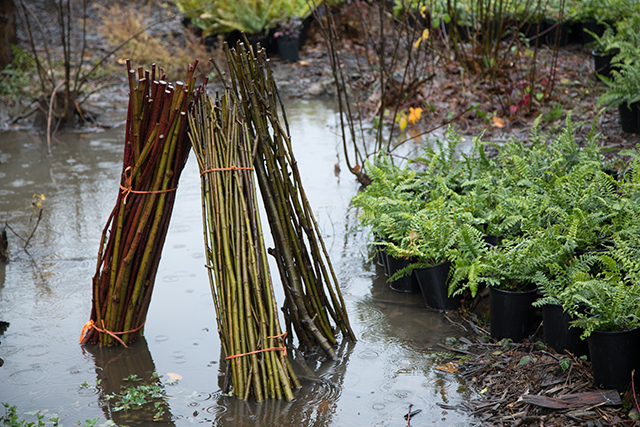
- Gathering your materials – First, you'll need three poles of about the same widths and some cordage. While not everyone comes prepared, nature provides all we need. The poles can be fallen branches, optimally a bit taller than you are. As much as possible, choose poles that are about the same length, hard to break, and are generally straight (not curved or bent). Cordage, if you did not bring any, can be woven from grass or long, blade-like leaves from plants. Braided vines are good for cordage, as well as thin, soft lianas (woody vines) that hang from many forest trees. You will need around four arm-lengths of cordage if you're looking to build a strong tripod. A little less than that is workable, but might not fit the bill when it comes to strength and endurance.
- The hard part – Gathering materials was the fun part, now here comes the tricky one. Building a tripod is not merely bunching up twigs and tying them together. While that method could work, it won't be as strong or as long-lasting as a well-lashed tripod. Furthermore, a well-lashed tripod is both portable and reusable, saving you time if you're looking to move to a different campsite.
- Line up your poles side by side. Choose the poles' ends that are closer to each other, without much gap in between.
- Begin the hitching process by making a clove hitch knot on one of the outer poles. A clove hitch is made by making two loops and putting it on the end of one pole, about three to four inches from the end. Making a clove hitch is as simple as remembering: Right over left, right over left, and right behind left. To make it easier for you, here's a one-minute video on how to tie a clove hitch knot.
- The lashing process is the most tedious part of making a tripod, and how you do it determines the strength and stability of your tripod. The easiest way to begin is by going over and under the poles from your clove hitch. If your clove hitch is on the leftmost pole, you would want to go under the middle pole, and over the rightmost pole. From there, loop once on the rightmost pole, go under the middle pole and then go over the leftmost pole (where your clove hitch is). You will be doing this several times until you can make five or six passes on each pole (if you have about four or more arm-lengths of cordage). Here's a video on the lashing process, and another video for variation.
- Secure the lash by making loops on the lash in between the poles. Once done with the over-and-under process, loop in between the poles about two to three times for the two gaps in between the poles. After that, close off the lashing process by making another hitch knot on one of the poles.
Final tips
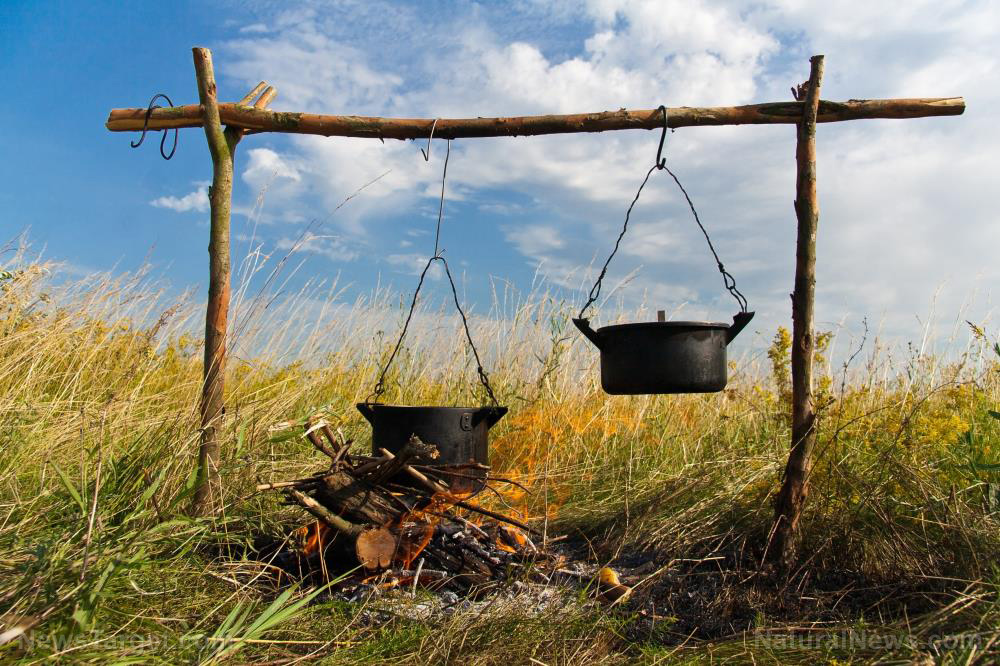
As much as possible, your lashing should be as tight as possible. Loose lashing will only result in one of the poles falling out, or in a total collapse of the structure. If done well, you should be able to stand the tripod and put some weight on it. Failed tripods often do not have the capacity to take the weight of a pot filled with water. Additionally, a well-lashed tripod won't unravel over time, from travel, or from weather factors such as rain or strong winds. You can use excess cordage for hanging stuff such as pots over a campfire. Also take note that the larger the tripod you have, the sturdier the poles should be so it can take its own weight and whatever you need to hang from it.
Learn of more essential wilderness survival tips and guides at Survival.news.
Sources include:


Please contact us for more information.